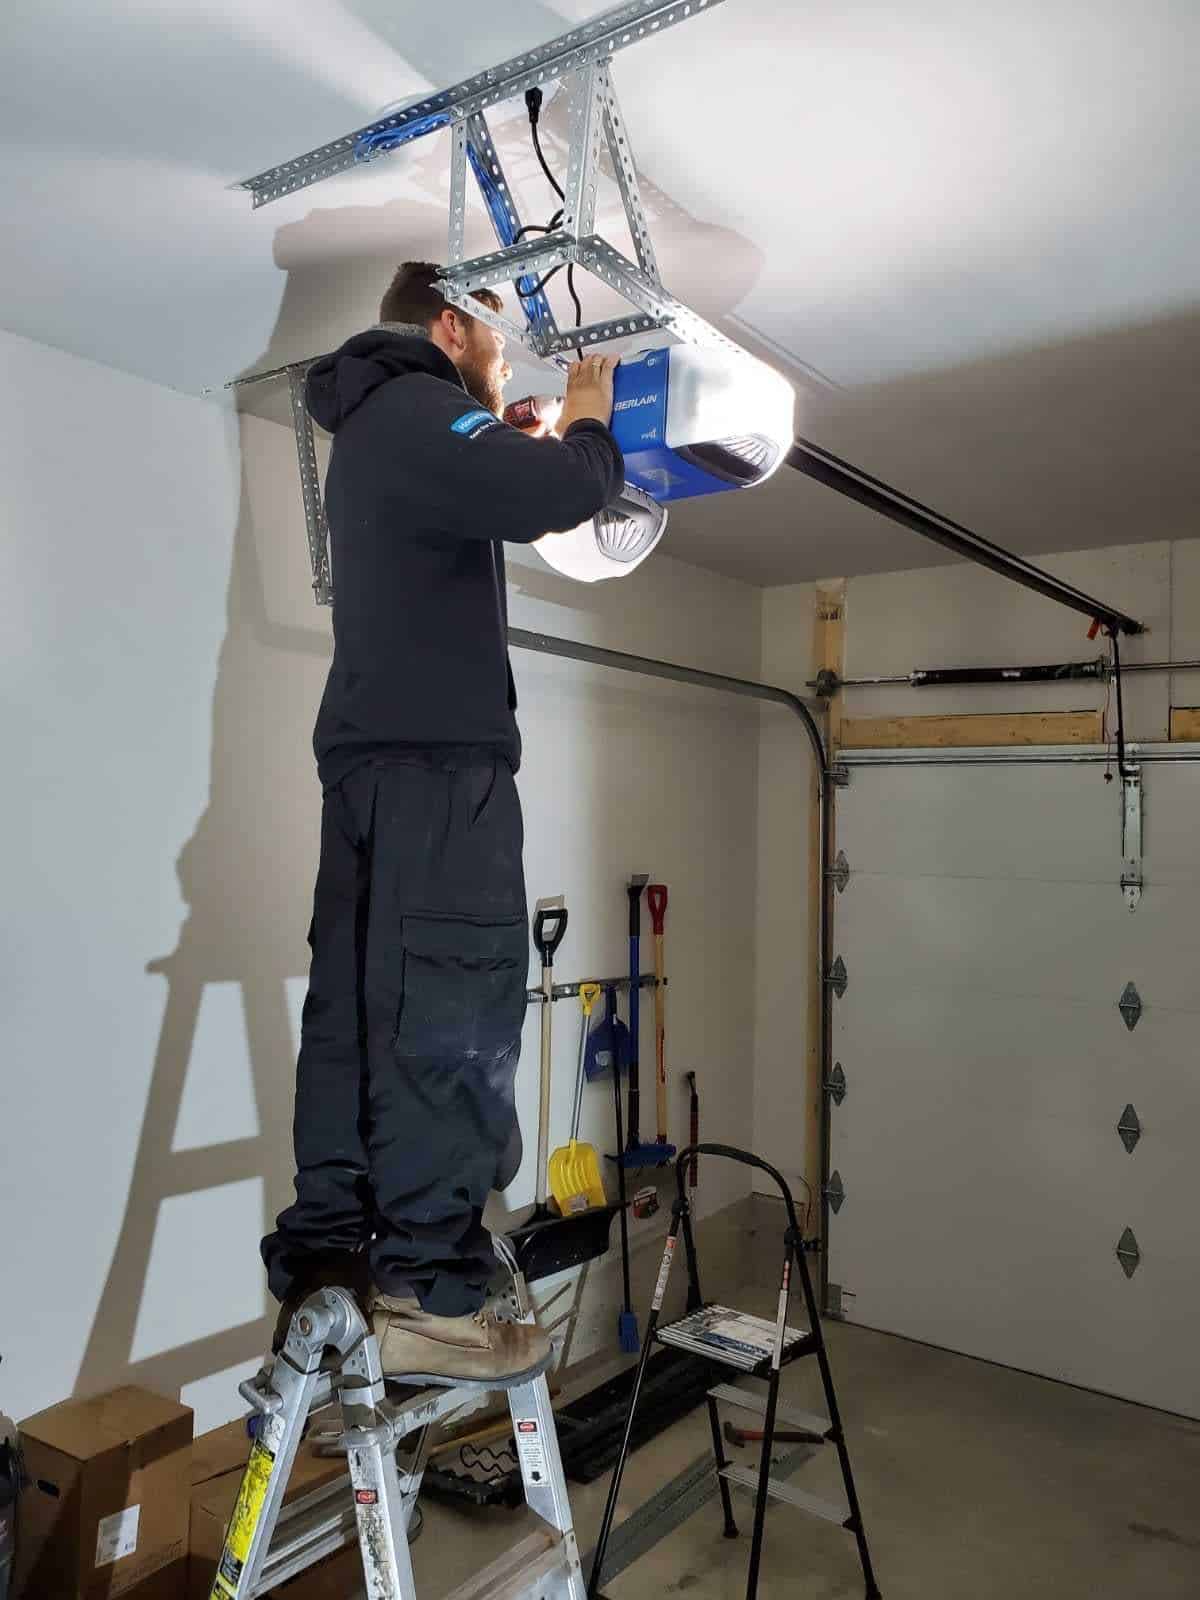
An opener problem is not always a failed motor. A tripped outlet, locked wall control, misaligned photo eye, or issue with the door itself can produce similar symptoms. Use the checks below to narrow down the cause without opening covers or touching high-tension hardware.
If a spring is separated, a cable is loose, the door is crooked, or a roller has left the track, stop. Do not run the opener. The opener cannot safely correct a mechanical failure.
1. Confirm the opener has power
Check whether the opener's lights or indicator LEDs turn on. Make sure the power cord is fully seated in the ceiling outlet. If that outlet is controlled by a GFCI elsewhere in the garage, verify that it has not tripped. Avoid extension cords as a permanent power source.
If the breaker immediately trips again, leave it off and have the electrical fault inspected.
2. Test the wall control
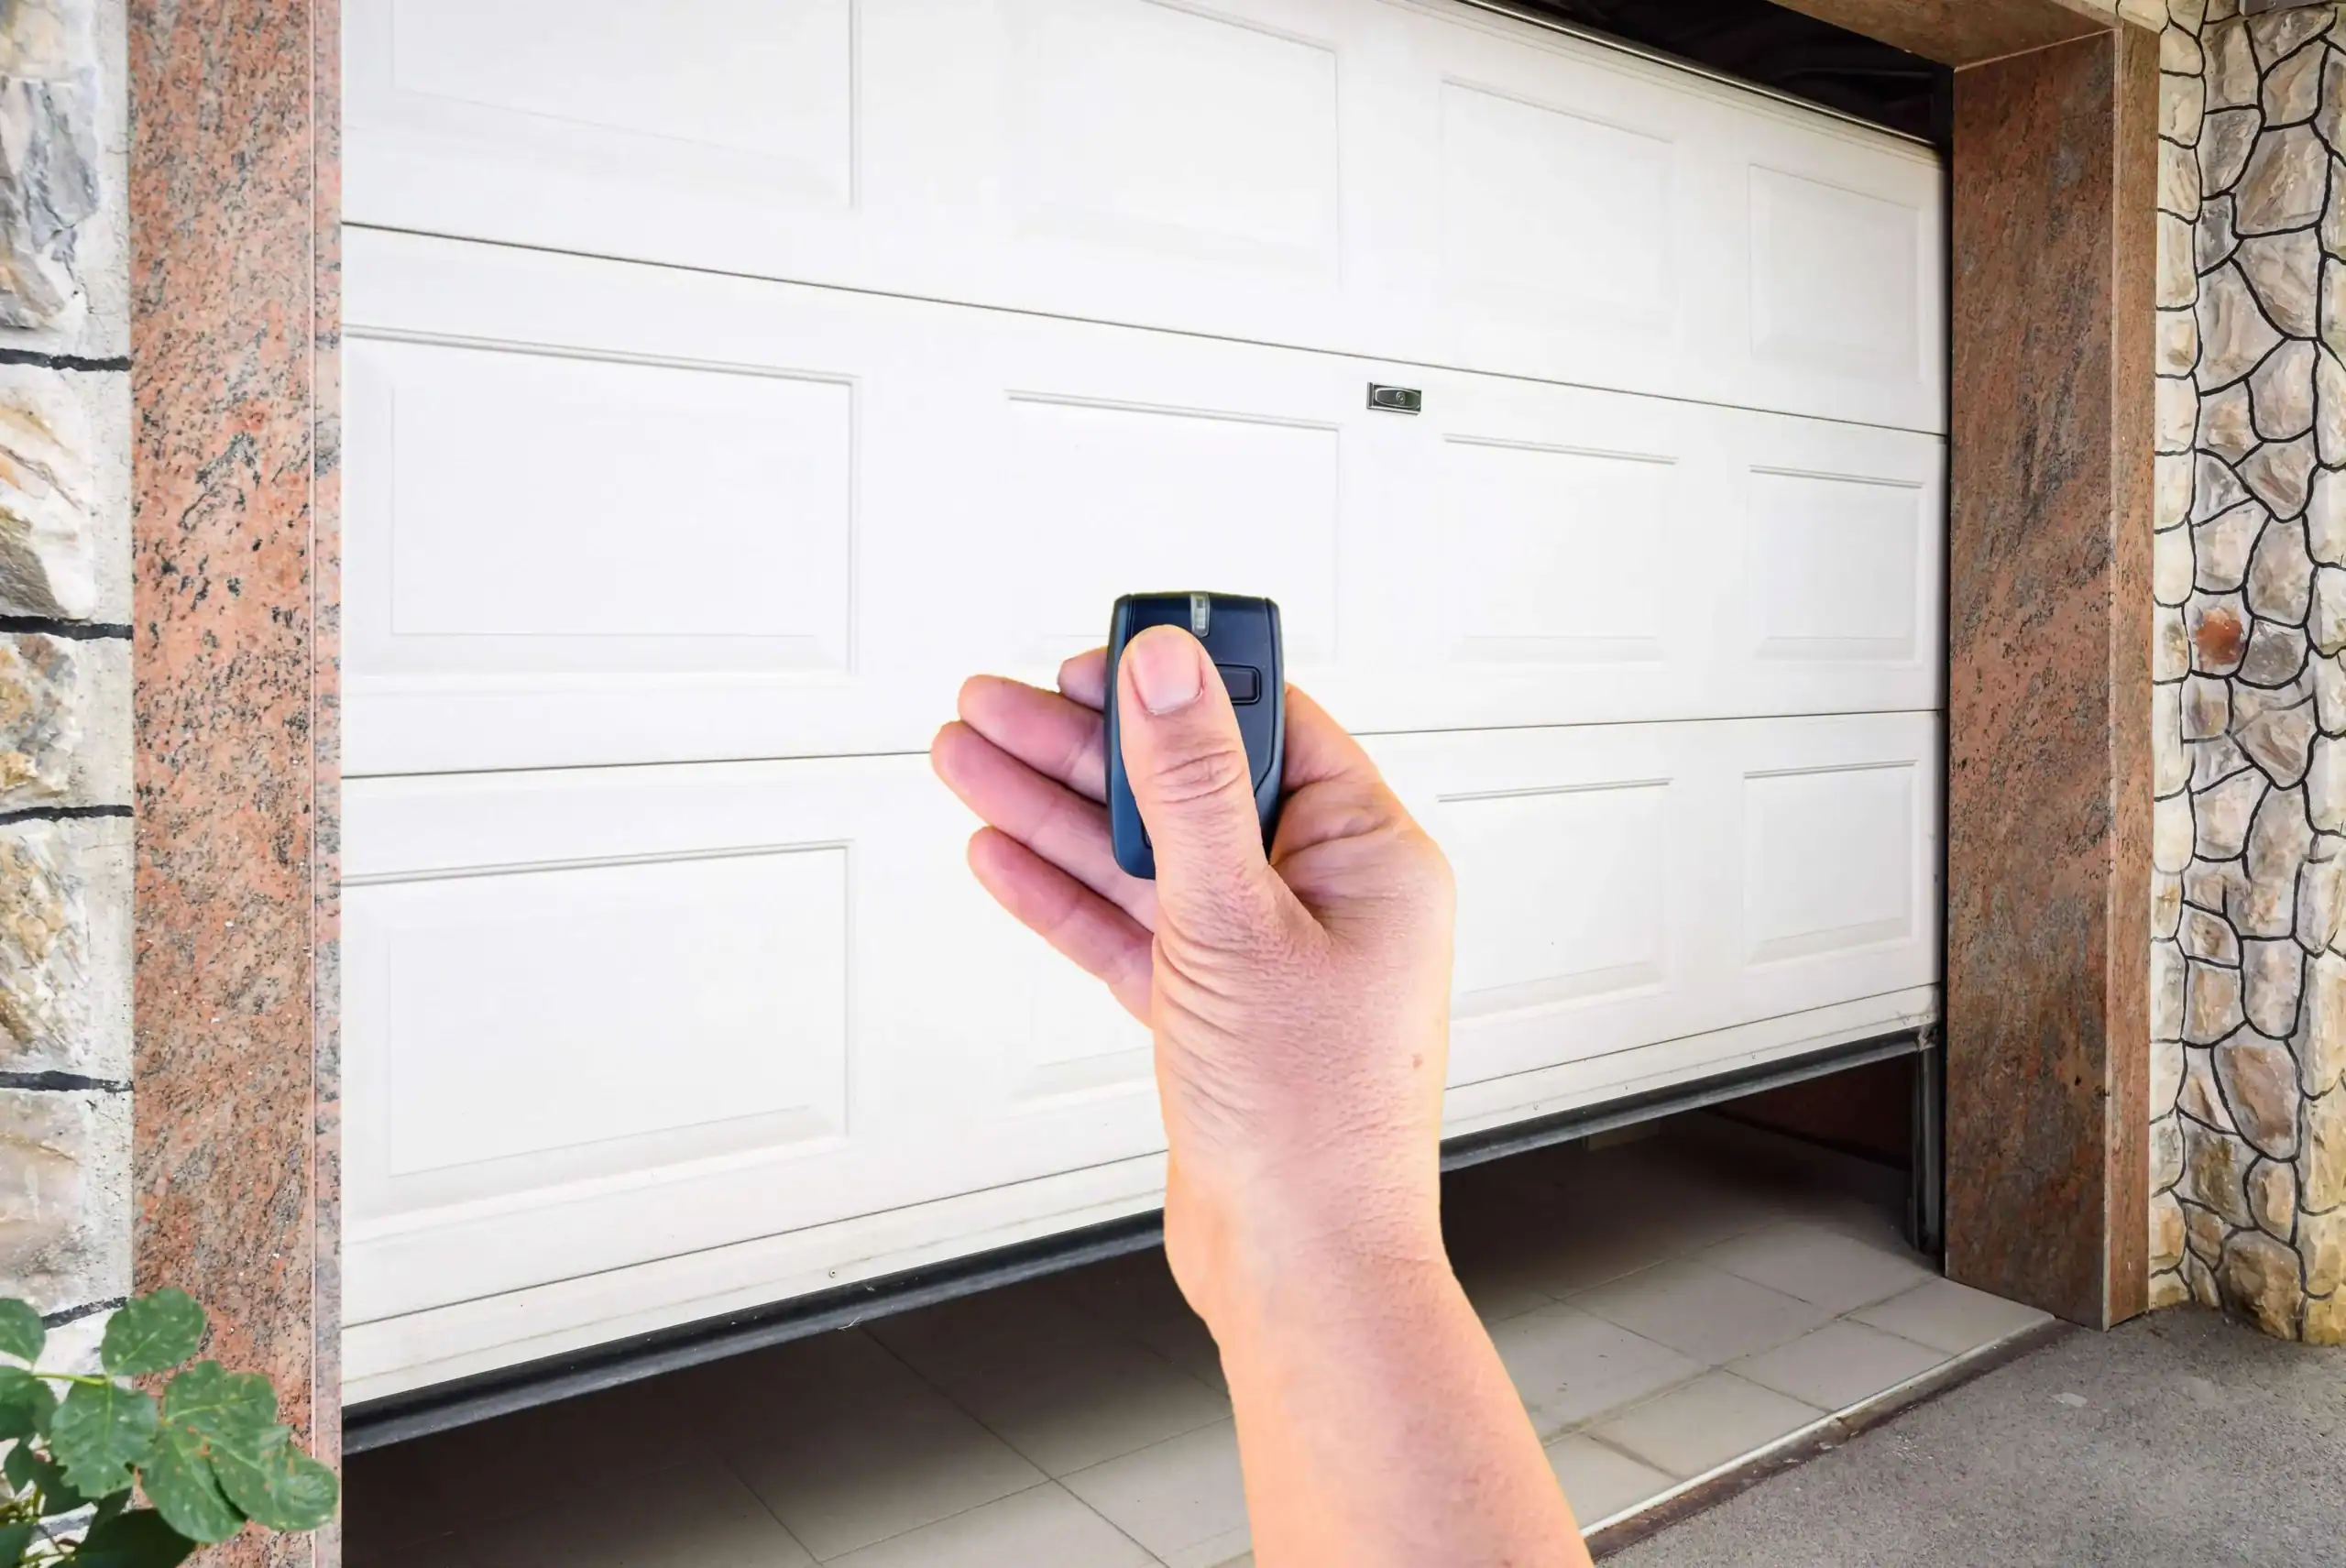
If the wall button operates the door but a handheld remote does not, the opener motor is receiving power and the problem is more likely related to the remote, its battery, programming, or radio interference.
Check for vacation or lock mode
Many wall consoles include a lock button that disables handheld remotes while allowing the wall control to work. The lock setting is easily activated by accident. Follow the manufacturer's instructions for your specific console rather than holding random button combinations.
3. Replace the remote battery and check range
Try a fresh battery installed in the correct direction. Test the remote from inside the garage first. If it works only at very close range, LED bulbs, charging equipment, or other electronics may be causing radio interference. Use bulbs approved for garage door openers.
4. Inspect the photo eyes
Federal safety systems use photo eyes near the floor to prevent the door from closing on an obstruction. If the door starts down and reverses, or closes only while the wall button is held, check for:
- An object, cobweb, or debris blocking the beam
- A dirty lens that can be wiped gently with a soft cloth
- A sensor bumped out of alignment
- A loose or visibly damaged low-voltage wire
- Direct sunlight affecting one sensor at a certain time of day
Indicator lights should normally be steady, though colors vary by brand. Never bypass or permanently disable the photo eyes.
5. Notice exactly what happens
The symptom gives a technician valuable information. Note whether the motor hums, the trolley moves, the chain or belt runs, the door rises a few inches, or the lights flash after reversal. Count any flashing diagnostic LEDs and record the opener brand and model number if it is easy to see.
6. Check the emergency release—only when safe
With the door fully closed and no visible spring, cable, or track damage, pulling the emergency release lets you determine whether the door moves smoothly by hand. A balanced door should travel without binding and should not feel extremely heavy.
Do not disconnect an open door. If a spring is broken, the door may drop when released from the opener.
When the opener likely needs service
Professional diagnosis is appropriate when the opener has power but does not respond, the motor runs without moving the trolley, internal gears grind, the rail flexes, controls work intermittently, or the safety reversal cannot be adjusted to operate correctly. A technician can determine whether a repair or modern replacement provides better value.
Information to have ready
- Opener brand and approximate age
- Whether the wall control and remote behave differently
- What the lights or diagnostic LED do
- Whether the door moves normally by hand when safely disconnected
- Any recent power outage, impact, or change in noise
Call Garage Door Service Pro at (720) 513-4343. We can inspect the door and opener as one system instead of replacing parts by guesswork.